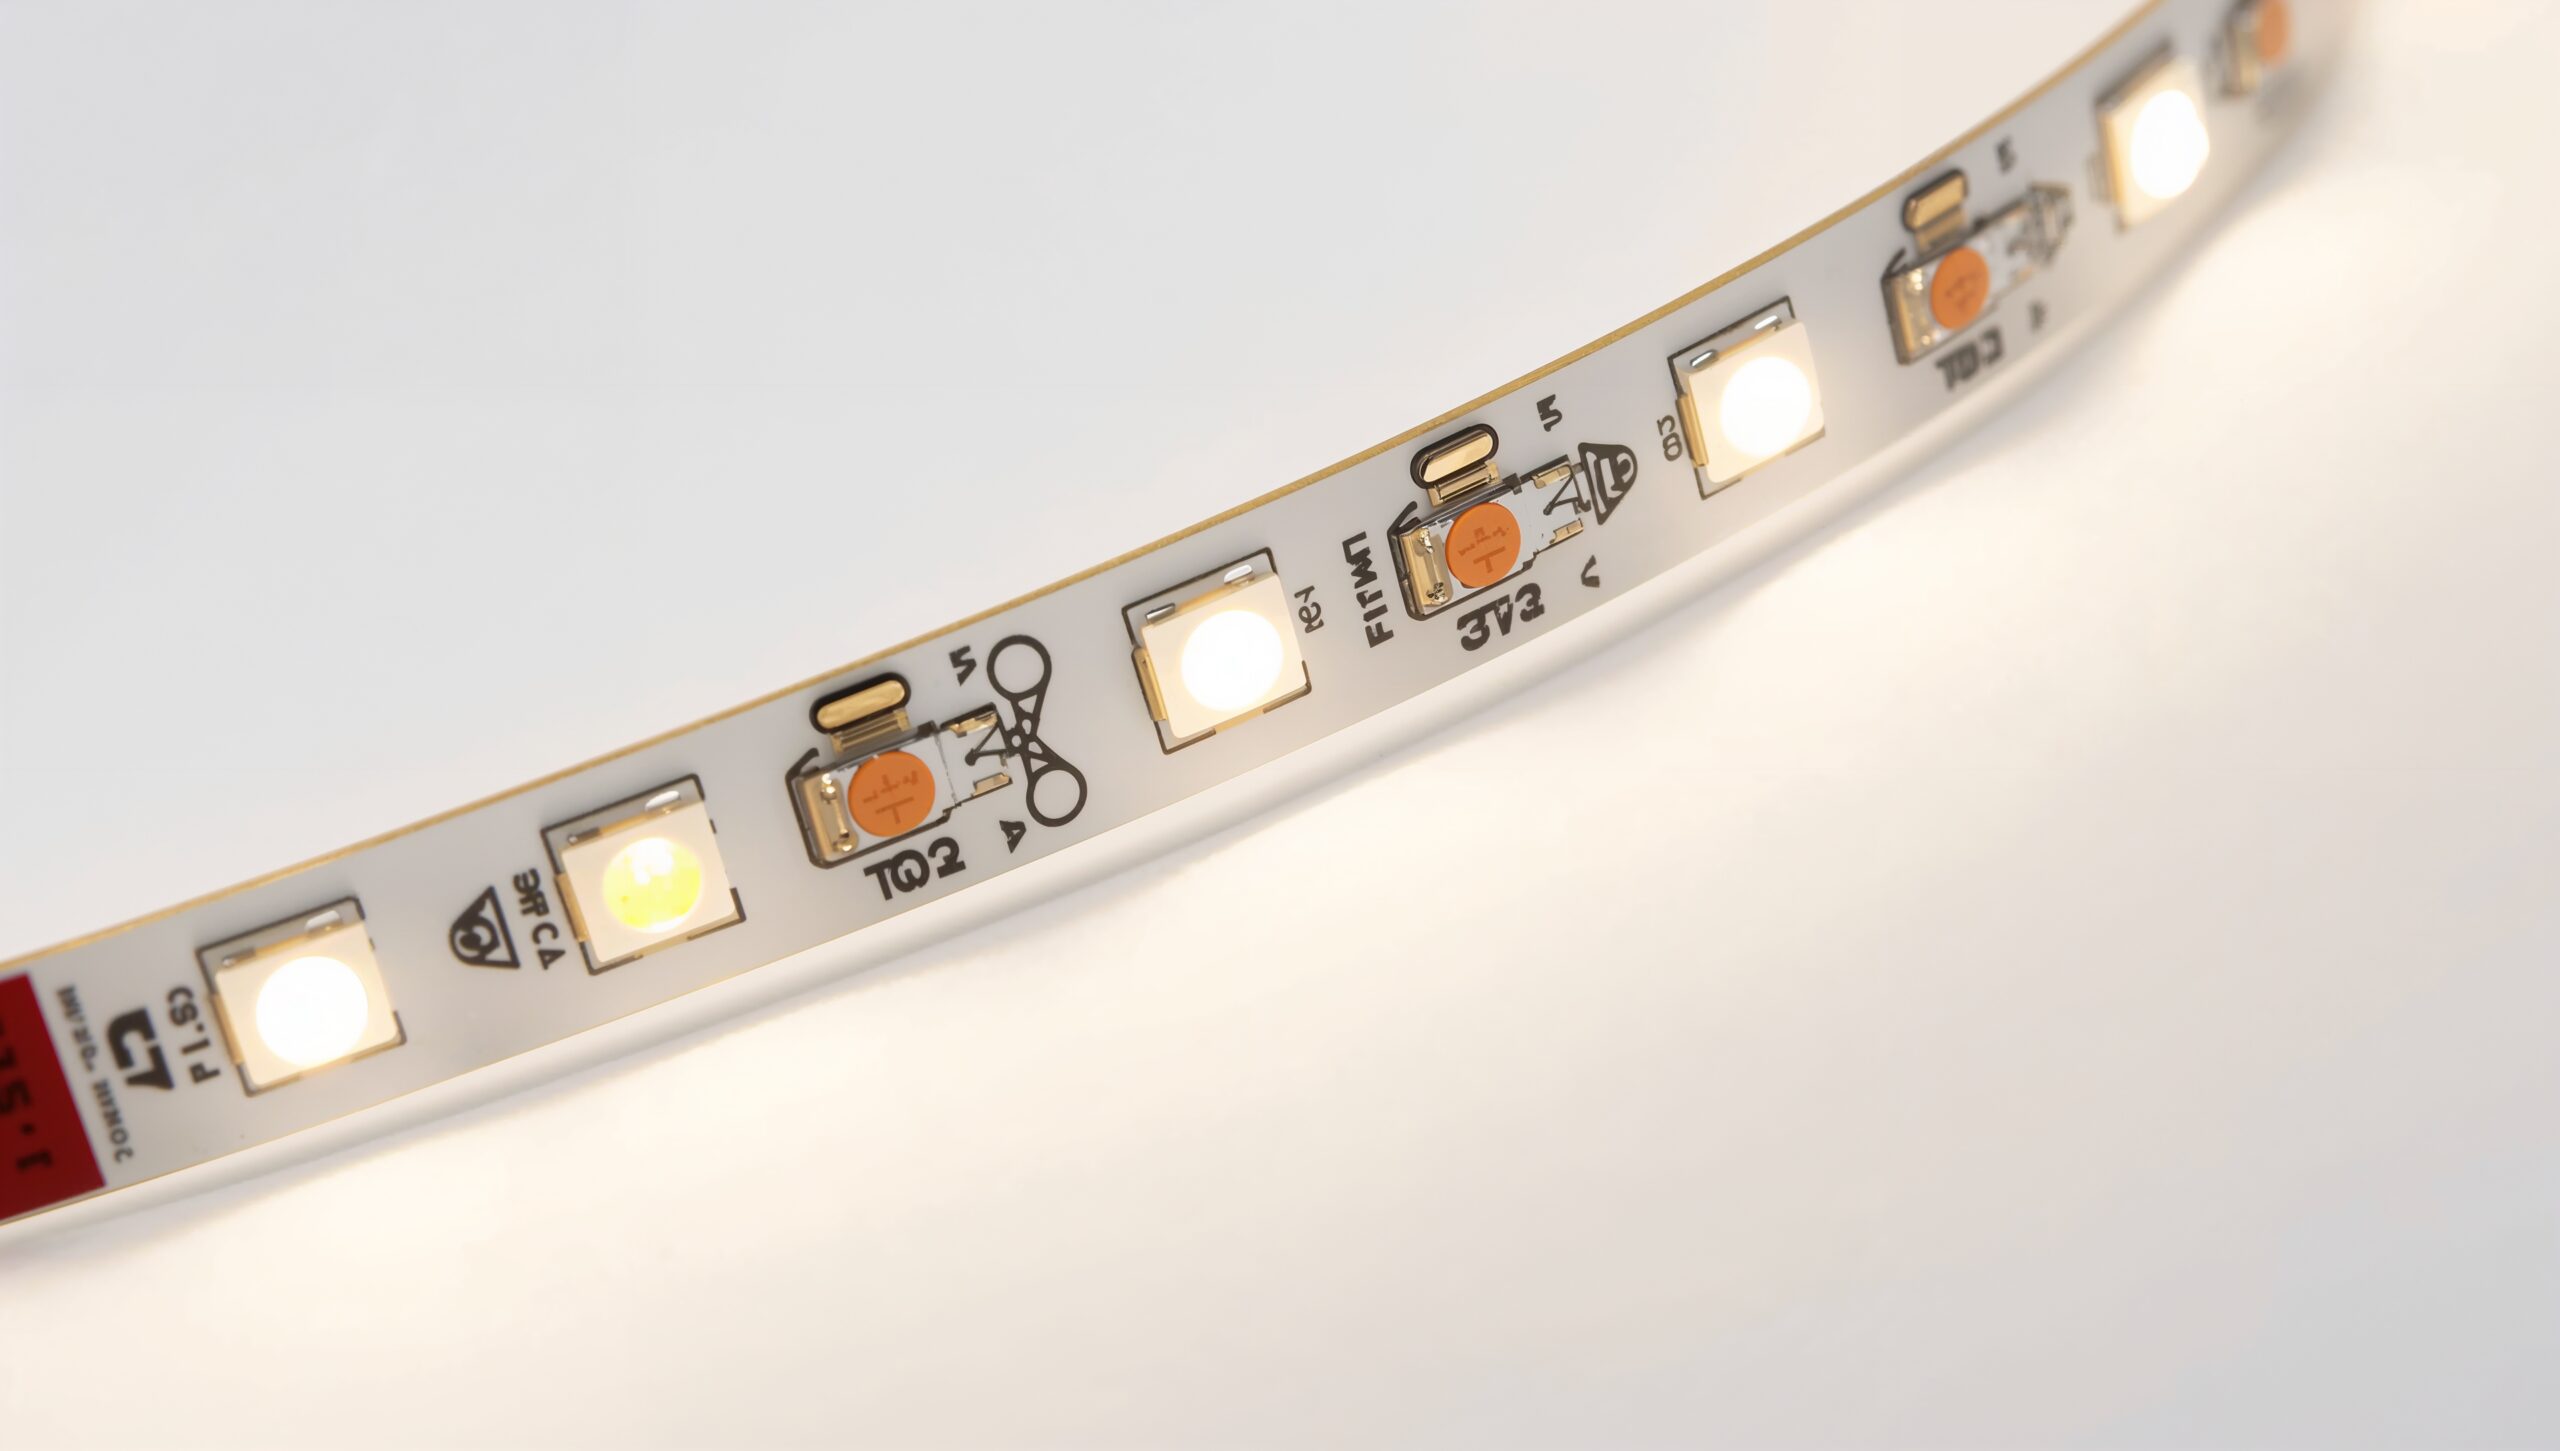
Ever buy a set of Govee lights and realise they’re just a little too long for your wall, desk, or TV? Don’t worry—you’re not stuck with extra hanging lights. The good news is you can cut Govee LED strip lights to fit perfectly, as long as you do it the right way.
In this guide, we’ll walk you through how to cut Govee LED strip lights safely, whether you’re working with regular strips, the smarter Govee RGBIC LED strip lights, or even tough outdoor waterproof versions.
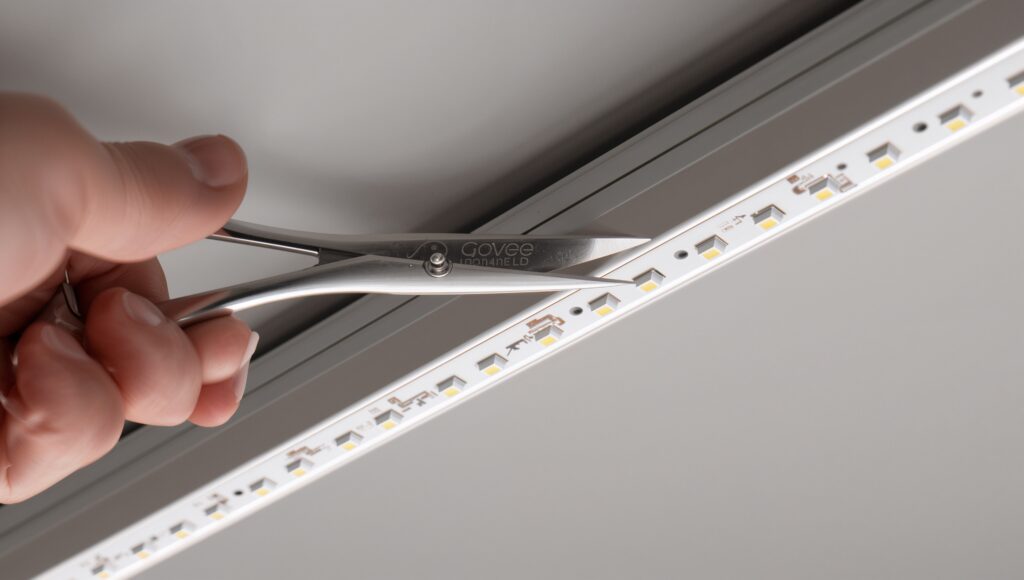
We’ll cover everything step by step—how to find the safe cut points marked with the little scissors icon, what tools you need, and how to reconnect strips if you want to extend them later. You’ll also learn how to cut and connect Govee LED strip lights without losing brightness, plus what to watch out for with RGBIC models that have extra colour effects. And if you’re wondering about backyard setups, we’ll explain how to cut Govee outdoor LED strip lights and seal them so they last through rain and heat.
Can You Cut Govee LED Strip Lights Safely?
Yes, you can cut Govee LED strip lights, but you can’t just cut them anywhere. The strips have special spots called cut points. These are easy to find because they’re marked with a small scissors icon or little copper pads. If you cut at those marks, the strip will still work. If you cut in the wrong place, the lights may stop working for good.
- Keep in mind that cutting your strip may void the warranty. If you trim the lights, Govee might not replace them if something goes wrong.
- Always cut carefully and only at the safe cut lines marked with scissors icons or copper pads.
- Make sure the power is turned off before you start cutting.
- Measure first, then cut at the copper pads to avoid mistakes.
- Done correctly, your Govee lights will keep working and shine perfectly at the exact size you need—whether it’s for a wall, desk, TV, or outdoor space.
Tools You’ll Need Before Cutting
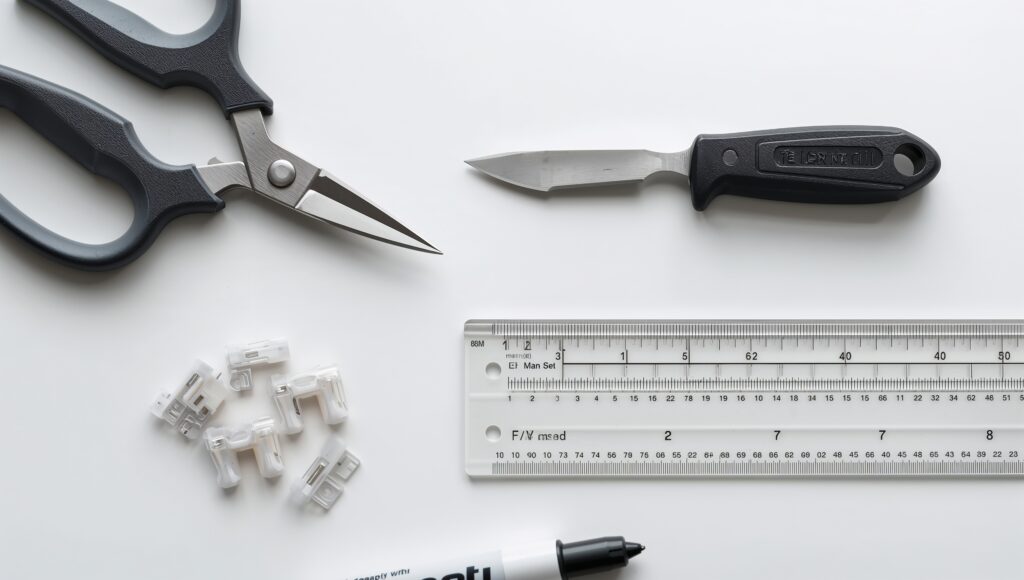
Before you cut your Govee LED strip lights, it’s smart to gather a few simple tools. You don’t need anything fancy, but the right tools will make the job easier and safer.
- Sharp scissors or a utility knife – You’ll need these to make a clean cut at the copper pads or cut points.
- Connector clips or a soldering kit (optional) – If you plan to reconnect or extend your strip, LED connectors or soldering gear will help. Beginners can stick with clips since they’re quick and easy.
- Ruler and marker – These help you measure and mark the exact spot before cutting, so you don’t make mistakes.
- Power off reminder – Always disconnect power before cutting.
Step-by-Step Guide: How to Cut Govee LED Strip Lights
So, you’re ready to trim your strip? Don’t stress—it’s pretty simple. The trick is cutting in the right spot and taking it one step at a time.
Step 1 – Power Off and Measure
First things first, unplug the lights. Never cut while it is plugged. Grab a ruler and mark the length you want.
Step 2 – Find the Cut Line
Look closely at the strip. You’ll see tiny copper pads or a small scissors icon. That’s the safe place to cut, right between the LED segments.
Step 3 – Make the Cut
Take a pair of sharp scissors and cut straight across those pads. Don’t angle it—clean and straight is best.
Step 4 – Test the Strip
Plug it back in. If the lights all glow, you nailed it. If not, double-check the cut.
Step 5 – Seal or Reconnect
Outdoor or waterproof strips? Seal the end with silicone. Need to reconnect? Use LED clips or solder to keep power flowing and avoid a voltage drop.
How to Cut and Connect Govee LED Strip Lights
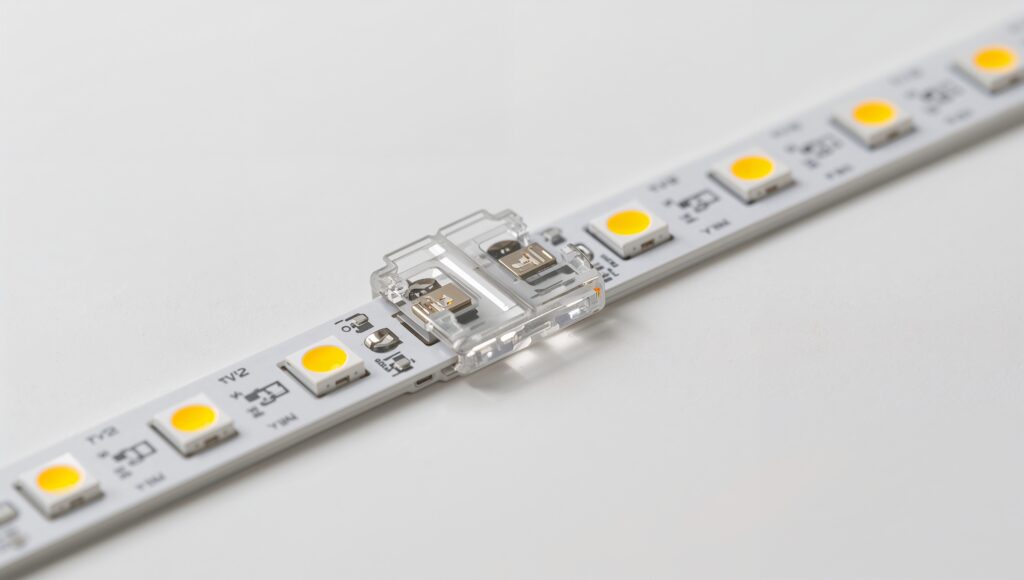
Sometimes you don’t just want to trim your strip—you also want to join two pieces back together. The good news is, learning how to cut and connect Govee LED strip lights is pretty simple once you know the options.
- The easiest way is to use quick-connect clips. These little plastic connectors snap right onto the cut ends, making it easy to rejoin cut LED lights without tools. Just match the copper pads on both sides and close the clip.
- If you’re more hands-on, LED soldering is another option. By heating the pads and attaching small wires, you can create a strong, permanent connection. This works well if you want to add extension cables or bend strips around corners.
- One thing to watch: polarity. The copper pads are marked with positive (+) and negative (–). Always line them up the same way, or the strip won’t light correctly.
Whether you use clips or solder, take your time. A careful connection means smooth lighting with no flicker or voltage issues.
How to Cut Govee RGBIC LED Strip Lights Without Losing Effects
Cutting regular LED strips is pretty simple, but cutting Govee RGBIC LED strip lights takes extra care. RGBIC stands for “RGB + Independent Control.” Each section of the strip has its own chip, so it can show different colours at the same time. That’s how you get those cool rainbow effects.
Cutting RGBIC strips
- The safe way: Always cut at the marked copper pads. If you reconnect, make sure the positive, negative, and data lines all match up.
- What RGBIC means: These strips have tiny chips built in, so each zone can shine in different colours at the same time. That’s why you see rainbow effects.
- The data line matters: RGBIC strips have an extra line that carries signals. If you cut wrong, you can break this line.
- Risks of cutting: Cutting in the wrong spot may cause lost RGBIC zones, glitching colours, or effects in the app that no longer sync right.
- Real user stories: On Reddit, one user cut their strip and soldered the pads together—it worked. Others on AVforums said effects were lost because the cut wasn’t lined up with the copper pads.
| Govee LED Strip Type | Can You Cut It? | Safe Cut Points |
|---|---|---|
| Standard Govee LED Strip Lights | Yes | Copper pads / scissors icon |
| Govee RGBIC LED Strip Lights | Yes, but risky | Copper pads + data line |
| Govee RGBIC Pro LED Strips | Possible | Copper pads only |
| Govee COB Strip Light Pro | Yes | Marked cut points |
| Govee Permanent Outdoor Lights | No | Not designed for cutting |
| Govee TV Backlight 3 Lite | No | Not available |
How to Cut Govee Outdoor LED Strip Lights
Cutting outdoor strips is a little trickier than indoor ones because of the waterproof layer. But it’s doable if you take your time. Here’s how:
- Check the strip first: Outdoor versions usually have a clear silicone coating. That’s what keeps rain and dust out. You’ll need to peel or trim this back before you cut.
- Find the safe spot: Just like indoor strips, look for the scissors icon and copper pads. Only cut at those points.
- Make a clean cut: Grab sharp scissors and cut straight across the pads. Don’t angle it. A clean cut means the strip still works.
- Seal the end: Now the important part. Add a bit of silicone glue and push on an end cap if you have one. This keeps water from sneaking in.
- Extra protection: If you’re using Govee permanent outdoor lights, add another thin layer of waterproof sealant. It’s a small step that makes the strip last through heat, rain, and cold.
Troubleshooting Common Problems After Cutting
Cut your Govee lights, and something looks off? Don’t panic. Most problems are easy to fix.
- One side won’t light – This happens if the cut missed the copper pads or the clip didn’t grab tight. Try re-cutting right on the pads or snap the connector back on.
- Lights flicker – A shaky connection or mixed-up + / – pads is usually the reason. Make sure the positive and negative line up.
- RGBIC colours glitch – If patterns look weird or don’t sync in the app, the data line may have been cut incorrectly. Re-soldering the pads can bring it back.
- Outdoor strip dead – Water inside the cut end can short it out. Always seal the edge with silicone or push on an end cap right after trimming.
Most of the time, it’s not the strip that’s bad—it’s just a loose cut or connection. A quick check usually gets your LEDs glowing again.
Real User Experiences with Cutting Govee LED Strips
DIY feedback shows mixed results. Some Reddit users reported success after soldering cut strips, with no flicker or dimming. Others had issues, especially with RGBIC models—losing effects when the data line wasn’t aligned.
The lesson? Only cut at copper pads, test before installing, and use clips if you’re new. Real reviews prove cutting works, but careful steps make the difference between smooth lighting and frustrating glitches.
Conclusion – Mastering How to Cut Govee LED Strip Lights
Mastering how to cut Govee LED strip lights is easier than most people think. The trick is to measure carefully, cut only at the copper pads, and always test the strip before sticking it down.
For beginners, connector clips make rejoining simple, while soldering offers a stronger option for advanced users. Outdoor strips need resealing with silicone to stay waterproof. With these steps, your Govee lights will fit perfectly, keep their effects, and shine beautifully in any space.
FAQ’s
How to cut Govee LED strip lights RGBIC?
Cut only at the copper pads, and make sure the data lines up when reconnecting.
Can you cut Govee RGBIC lights on Reddit?
Yes, but Reddit users warn that cutting wrong may cause effects to glitch.
How to cut the Govee COB Strip Light Pro?
Trim only at the marked cut points and reseal the ends to protect the strip.
Can you cut Govee permanent outdoor lights?
No, permanent outdoor lights aren’t designed to be cut or resized.
Can you cut Govee TV Backlight 3 Lite?
No, the TV Backlight 3 Lite can’t be cut since it’s pre-sized for screens.
Govee RGBIC Pro LED Strip Lights
These use advanced RGBIC tech, so cutting them risks losing syncing effects.
Can I cut Govee LED strip lights?
Yes, but only at safe cut lines marked with scissors icons or copper pads.
About the Author:
Alif Littel is a home tech & appliance troubleshooting writer with over 10 years of hands-on experience fixing household gadgets and smart home installs. Read more about me.

