Most homeowners pay $145–$355 for labor to install or replace a ceiling fan, with a national average around $250. New installs that require wiring typically run $250–$700, including fan + labor, while simple replacements land at $100–$300 labor-only.
Step 1: Confirm Code & Clearance Requirements
Codes vary by city/state. Always check your local building department before starting. The rules below reflect common U.S. guidelines.
- Fan‑rated junction box: The ceiling box must be listed for fan support (reinforced, not a standard light‑duty box). Look for labels like “Suitable for Fan Support” or UL Listed for Fan.
- Mounting structure: Box must be securely braced to framing (joist or fan brace spanning joists) to resist vibration and dynamic loads.
- Clearances (typical):
- Floor to fan blades: ≥ 7 ft.
- Blades to walls/obstructions: ≥ 18 in.
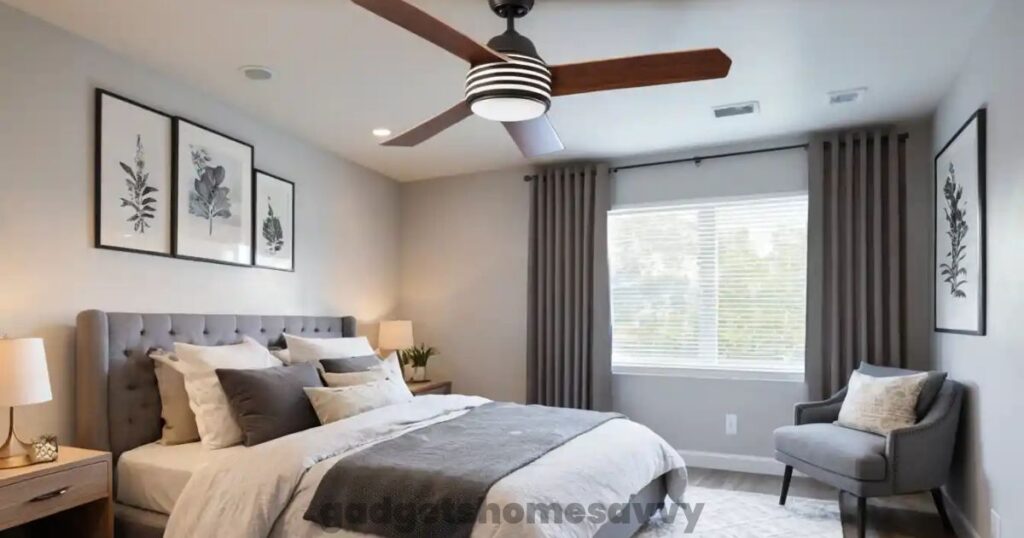
- Ceiling height: For 8–9 ft ceilings, use a hugger/flush mount or short downrod; for taller ceilings, use a longer downrod to keep blades ~8–9 ft above the floor.
- Wet/Damp locations: Use a damp‑rated fan for covered porches; wet‑rated for exposed outdoor areas.
- GFCI/AFCI: Outdoor/bathroom or specific jurisdictions may require GFCI; bedrooms and many living spaces require AFCI. Check local code.
Pro Tip: If your existing box flexes, is plastic/light‑duty, or the fan wobbles at the box, upgrade to a fan‑rated brace kit.

Step 2: Choose the Right Fan Size & Performance
Match the blade span and airflow to the room for comfort and efficiency.
| Room Size (sq ft) | Suggested Blade Span |
|---|---|
| ≤ 75 | 29–36 in |
| 76–144 | 36–42 in |
| 144–225 | 44–50 in |
| 225–400 | 52–60 in |
| > 400 (large/open) | 60–72+ in (or multiple fans) |
What to compare:
- Airflow (CFM): Higher CFM = more air movement. Look for efficient models with good CFM/Watt.
- Motor type: DC motors are quieter and more efficient than AC; they often include more speed settings.
- Lighting: Integrated LED kits save energy; confirm dimmable if desired.
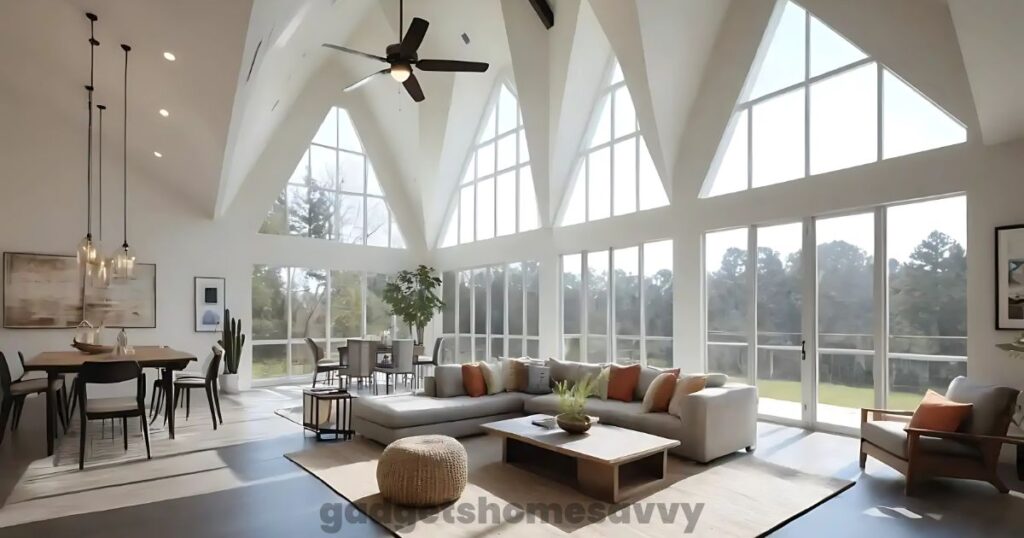
- Slope: For vaulted ceilings, buy a slope adapter if the pitch exceeds the fan’s default rating (often ~15°).
Step 3: Pick the Mount & Downrod
- Flush/Hugger: Best for 8 ft ceilings; keeps blades high enough.
- Standard downrod (3–6 in): Ideal for 8–9 ft ceilings.
- Extended downrod (12–72 in): For 10–20 ft+ ceilings; keep blades at 8–9 ft above floor.
- Vaulted/sloped ceilings: Use a slope‑rated canopy and confirm the fan’s max pitch rating.
Balance tip: Longer downrods reduce turbulence from the ceiling and can reduce wobble.
Standard vs Smart Ceiling Fans (2025 Costs)
| Fan Type | Typical Fan Price | Labor Cost (Install) | Total Estimated Range | Notes |
|---|---|---|---|---|
| Standard AC Motor | $50 – $250 | $150 – $300 | $200 – $550 | Basic pull-chain or wall switch |
| Smart/DC Motor | $250 – $600+ | $200 – $450 | $450 – $1,050+ | Wi-Fi, app/voice control, quieter, more efficient |
Step 4: Plan Electrical & Controls
Most fans connect to an existing 15‑A lighting circuit. A dedicated circuit is usually not required unless you’re adding heavy loads, running multiple fans/lights on one run, or local code demands it.
Common control options:
- Single‑switch: One wall switch toggles power; pull chains or remote set speeds/lights.
- Dual‑switch: Separate wall switches for fan and light; requires extra conductors (e.g., 3‑conductor cable) from the switch to the box.
- Remote/Receiver: Wireless handset or wall module; simplest when only a single hot is available.
- Smart controls: Wi‑Fi remote modules, smart wall switches (ensure fan‑rated), voice/app control.
Wire color guide (typical): Black = fan (motor hot), Blue = light hot, White = neutral, Green/bare = ground. Always verify with the fan manual and your house wiring.
Step 5: Gather Tools & Materials (with Budget Ranges)
- Fan‑rated box/brace: $15–$45
- Downrod/slope adapter (if needed): $20–$60
- Smart/remote control kit: $30–$120
- Wall control/switches: $15–$75
- Wire nuts, pigtails, staples, cover plates: $10–$25
- Voltage tester, screwdriver set, wire stripper, drill/driver, spade/augur bits
- Ladder/portable scaffold for high ceilings
Optional: Old‑work fan brace kit (for retrofits), patch/paint materials.

Step 6: Install the Fan (High‑Level DIY Steps)
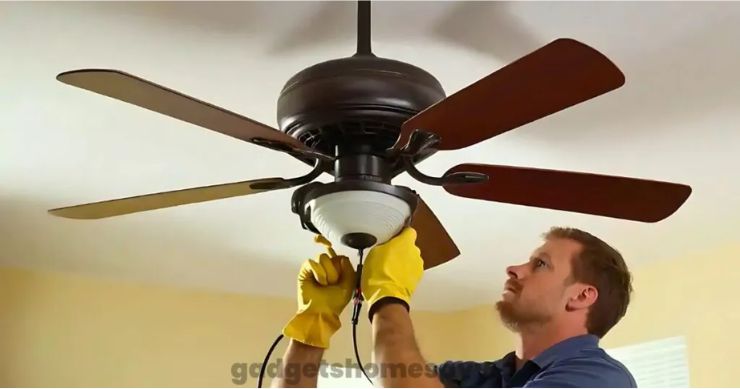
If you’re not experienced with residential wiring or local permits, hire a licensed electrician. Always turn off the breaker and verify power is off before touching wires.
- Power down: Turn off the breaker and confirm with a non‑contact voltage tester.
- Replace/upgrade box: Remove the old box; install a fan‑rated brace box secured to framing.
- Mount bracket: Attach the manufacturer’s bracket to the fan‑rated box with the provided machine screws.
- Assemble fan: Pre‑assemble downrod/canopy per manual; hang the motor on the bracket’s hook to free both hands.
- Wiring: Connect ground to ground, white to white, black to black (fan), blue to switched hot (light) if separate; tuck wires neatly.
- Secure canopy: Fasten the canopy and strain‑relieve the downrod.
- Attach blades/light: Install blades with supplied screws; add the light kit/shade and bulbs, or connect the LED module.
- Balance & test: Turn on power; run through speeds. If a wobble occurs, use the balancing kit and verify blade screws are tight.
Safety checklist: No splices outside boxes, grounds bonded, strain relief intact, and the box shows no movement when the fan runs high.
Step 7: Cost Breakdown in 2025 (U.S.)
Prices vary by market. Use these ranges to set reader expectations.
Fan + Labor (Typical)
- Replace existing fan (same location): $100–$300 labor + fan cost
- New install using existing circuit: $200–$450 labor + fan cost
- New circuit/complex wiring: $350–$700+ labor + fan cost
Add‑On Factors
- High ceiling (10–14 ft): +$50–$150 (lifts/long downrod)
- Very high/2‑story (15–20+ ft): +$150–$300 (scaffolding)
- Plaster/lathe or concrete ceiling: +$75–$250 (special anchors/care)
- Dual‑switch retrofit (new 3‑wire run): +$150–$350
- Smart control/receiver install: +$30–$120 parts, +$0–$100 labor
Fan Hardware Costs (Typical)
- Budget fans: $50–$120
- Mid‑range: $120–$250
- Premium/DC/large: $250–$600+
Cost by Room Type
- Bedroom installs (often smaller blade fans, ~$100–$250 labor).
- Living room installs (larger spans, possible dual-switches, ~$200–$400).
- Outdoor patio installs (wet-rated fans + GFCI, ~$250–$500).
Regional Cost Differences
- West Coast (CA/WA/OR): higher labor rates, ~$200–$450.
- Midwest (IL/OH/MI): moderate, ~$150–$300.
- East Coast (NY/NJ/MA): premium markets, ~$250–$500.
Cost by Fan Type
- Standard AC motor fans: $50–$250 + $150–$300 labor.
- Smart/DC motor fans: $250–$600+ + $200–$450 labor.
- Hugger/flush mount vs downrod (adds $20–$60).
Quick Table
| Installation Type | Estimated Cost (USD) |
| Retrofit (existing box/circuit) | $120 – $250 labor |
| New fan on existing circuit | $200 – $450 labor |
| New circuit / complex | $350 – $700+ labor |
| Downrod (height add‑on) | +$20 – $60 parts |
| Slope adapter | +$20 – $50 parts |
Step 8: Replace vs. Repair – How to Decide
- Replace when: motor hums/burns, bearings are shot, cracked blades/irons, wobbles from bent shafts, obsolete parts, or poor airflow.
- Repair when: loose blade screws, out‑of‑balance blades, bad capacitors/pull‑chain switches (cheap parts), simple receiver replacements.
- Disposal: Many cities require metal/e‑waste recycling. Some contractors offer haul‑away or trade‑in credits for working fans.
Step 9: Wobble‑Free & Safe – Final: The boxes
- The box is fan‑rated, and right there is good; no flex while running.
- All wire connections are inside the box with proper connectors.
- Grounds tied to the box and the fan’s green lead.
- Downrod pin and set screws are tight; blades are attached firmly.
- Fan rotates without contacting the canopy/ceiling; no scraping.
- Direction switch: Summer = counterclockwise (downward breeze). Winter = clockwise (gentle updraft).
Step 10: Ways to Save (Without Cutting Corners)
- Off‑season installs: Late fall/winter labor rates may be lower; spring promos bundle parts + install.
- Package deals: Single‑price bundles for multiple rooms can reduce per‑fan cost.
- Manufacturer rebates: Especially on Energy Star/DC‑motor models.
- DIY prep: Clear furniture, assemble blades/light kit, and confirm box location—saves billable time even when hiring a pro.
Hiring a Pro: What to Ask
- Are you licensed/insured? (Ask for license # and COI.)
- Is the box fan‑rated? Will you replace it if not?
- Will you balance the fan and verify clearances?
- Warranty: Labor and materials coverage (1–5 years is common).
- Estimate: Get a written, itemized quote (labor, parts, extras).
FAQs
Do I need a permit?
Often no for a straight replacement; maybe for new wiring/circuit. Check your local building department.
How long does installation take?
Simple replacements: 45–90 minutes. New wiring/high ceilings: 2–4 hours (or more if running new cable).
Can I use a light‑duty box?
No. Use a fan‑rated box/brace designed for dynamic loads.
Is a dedicated circuit required?
Typically no. Most fans run on an existing 15‑A lighting circuit. Add a dedicated run only when the load or code requires it.
What’s the difference between damp and wet-rated?
Damp: covered outdoor areas; Wet: exposed to rain/snow; Indoor‑only fans shouldn’t be used outside.
What direction should my fan spin?
Summer: counterclockwise; Winter: clockwise on low to recirculate warm air.
Written by Alif Lattel, smart home writer with hands-on installs and electrician-verified tips

