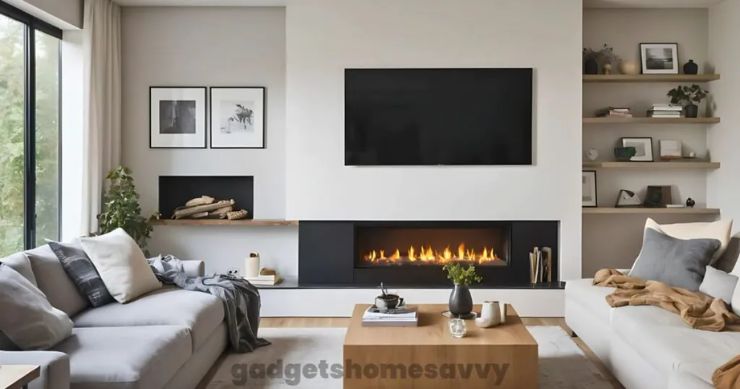
A wall-mounted TV above the fireplace creates a sleek look, but exposed cables immediately disrupt the clean design. Dangling wires aren’t just an eyesore—they can also pose safety risks. Fortunately, several proven methods make them easy to conceal.
Why Those Dangling Cables Are More Than Just Ugly
Safety Issues Nobody Mentions
- Heat from fireplaces damages standard cables over time
- Exposed wires become trip hazards in high-traffic areas
- Kids and pets can pull on accessible cables
- Dust buildup on cables creates fire risks near heat sources
Different Fireplace Types Need Different Approaches
- Gas units: Moderate heat, most cables work fine with proper spacing
- Wood-burning: Serious heat requires special high-temperature cables
- Electric models: Easiest to work with, standard cables handle the minimal heat

Before You Start: Know What You’re Working With
Check Your Wall Construction:
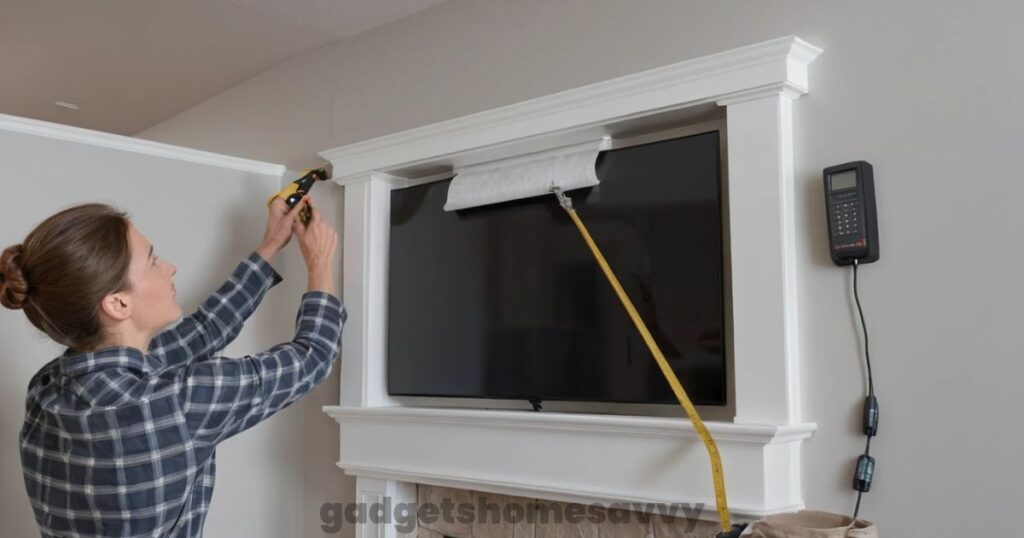
Use a stud finder to map what’s behind your walls. You’ll need this information whether you’re mounting simple cord covers or running cables through the wall. Take pictures with measurements marked – you’ll need these at the hardware store.
Count Your Cables:
Make a list of everything that needs hiding:
- TV power cord
- HDMI cables from streaming boxes, cable boxes, and game consoles
- Audio connections for sound systems
- Internet cables
- Future devices you might add
Add a couple of extra cables to your count. Technology has a way of multiplying when you’re not paying attention.
Measure the Distance:
Figure out exactly how far your cables need to travel from the TV to the nearest power outlet. Don’t guess – measure it properly. Most people underestimate and end up making second trips to the store.
Method 1: Basic Cord Covers – The $20 Fix
What You Need
- Paintable plastic cord covers
- Paint that matches your wall
- Level (not the app on your phone)
- Measuring tape
- Basic tools
How to Install:
Start by mapping your route with painter’s tape. This lets you test different paths without committing to anything permanent. Measure the total distance and buy covers with a little extra length.
Clean your wall
Before mounting anything, dust and grease prevent the adhesive from sticking properly. Install the base channel first, starting from your power outlet and working toward the TV. This keeps any extra cable length up by the TV, where it’s easier to hide.
Put your cables
In the channel, making sure they lie flat without bunching up. Snap the covers on, then install corner pieces where needed. Paint everything to match your wall colour perfectly.
Rental Property Warning:
If you’re renting, be cautious—some adhesives can peel paint. Always test a small spot first or opt for removable, renter-friendly options. Test a small area first, or look for removable options designed for temporary use.

Method 2: Professional-Grade Kits – Step Up Your Game
When Basic Covers Aren’t Enough. If you have multiple devices, long cable runs, or just want something that looks more professional, invest in a real cable management system.
What Makes These Better
- Bigger channels that fit multiple cables without looking stuffed
- Real corner pieces instead of trying to bend plastic covers
- Better mounting systems that don’t fall off your wall
- Materials that take paint better
Installation Process:
- Choose your kit based on how many cables need to be hidden and the distance they must travel, then map out their path, including turns and elevation changes, before installing mounting brackets every 16-24 inches along their journey.
- Run all your cables through before you snap on the final covers. Connect corner pieces and junction boxes for clean transitions. Prime and paint everything for seamless integration.
Budget and Time:
Expect to spend $75-150 most of a Saturday. The results look much more professional than basic cord covers.
Best For
- Cable runs over 6 feet
- Multiple entertainment devices
- Homeowners who want long-term solutions
Method 3: In-Wall Installation – The Ultimate Solution
When You Want Cables Completely Gone
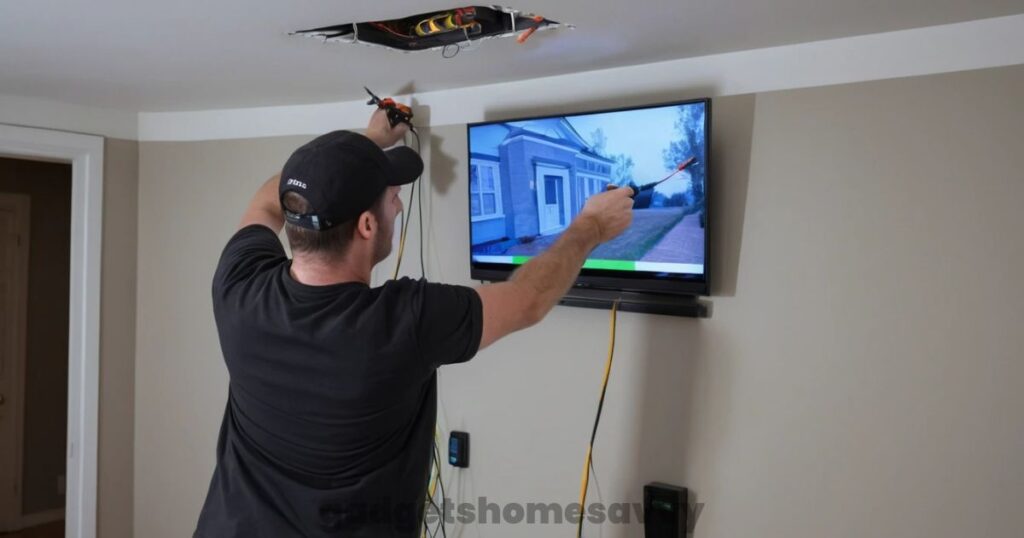
In-wall routing is the gold standard for concealment, but it requires careful planning, knowledge of electrical codes, and often professional expertise. You’re cutting holes, fishing wires through spaces you can’t see, and possibly dealing with electrical codes.
Planning Requirements:
Check what type of walls you have – drywall is easier to work with than masonry. Use detection equipment to locate electrical circuits, plumbing, and gas lines before cutting anything. Some areas require permits for this work.
Installation Steps:
Mark your entry and exit points precisely. Cut access holes with a drywall saw or oscillating tool. Fish cables through the wall cavity using pulling tools. Install outlet boxes where needed.
Electrical connections often require a licensed electrician. Patch and repair all wall surfaces, then prime and paint to match.
DIY vs Professional:
You can handle simple cable fishing through accessible walls. Call professionals for new electrical circuits, complex routing, or permit work.
Investment Level
Budget $200-600+, including any electrical work. The payoff is complete invisibility and increased home value.

Method 4: Sleek Socket Systems – Fix the Power Problem
Why Regular Power Strips Don’t Work:
Traditional power strips add bulk and push furniture away from the wall, making it nearly impossible to achieve a clean, flush look.
How Sleek Sockets Work:
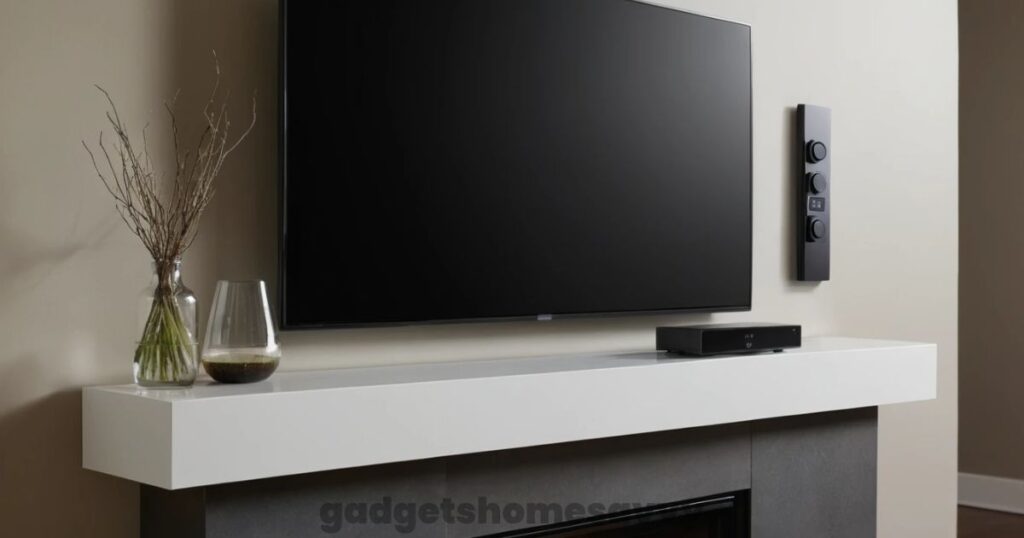
These replace your outlet cover with a flat extension cord that connects to a slim power strip. Instead of bulky cords sticking straight out, everything lies flat against the wall.
Installation Benefits
- Cuts cord bulk by about 75%
- Works with any hiding method
- Available in 2, 3, 6, and 8 outlet versions
- UL safety certified
Technical Details
- Handles 15 amps like standard circuits
- 6-foot flat extension cord
- Surge protection in premium models
- Fits standard electrical boxes
Cost and Time $30-60 for the unit, 15-30 minutes to install. Works with all other concealment methods and dramatically improves results.
Method 5: Surface Raceway Systems – When Walls Won’t Cooperate
Best Situations
- Brick or stone fireplaces where in-wall work is difficult
- Rental properties with strict rules
- Temporary setups
- Long runs needing lots of capacity
How to Choose:
Pick raceway size based on your total cable count plus planned additions. Consider available wall space and your budget – larger systems hold more but cost more and are more visible.
Pre-drill holes
To prevent wall damage. Use proper anchors for your wall type and cable weight. Plan your paint job before final installation.
Maintenance Needs:
Check mounting security annually. Remove dust from channels every six months. Organise cables to prevent overcrowding. Touch up paint as needed.
Method 6: TV CABLE MANAGEMENT
Architectural Integration
- Crown moulding: Hide cables behind decorative trim
- Picture rails: Use existing horizontal elements for routing
- Extended baseboards: Conceal low-voltage runs
- Built-in shelving: Integrate management into custom work
Decorative Camouflage
- Rope wrapping: Bundle cables with natural fibre for rustic rooms
- Fabric sleeves: Cover with material matching your textiles
- Paint techniques: Blend raceways into wall patterns
- Strategic furniture: Position items to block sight lines
Magnetic Options
For metal surrounds or steel studs:
- Magnetic clips need no permanent mounting
- Easy repositioning for changes
- No wall damage
- Limited weight capacity

Method 7: Complex Situations and Workarounds
Protruding Fireplaces
When your fireplace sticks out from the wall, you need multiple direction changes and longer cable runs. Use specialised corner pieces and plan strategic mounting to use natural shadow lines for concealment.
Brick and Stone Challenges:
Masonry is tough to drill and modify. Adhesive mounting often works better than screws. Surface routing is usually your only practical option. Get professional help for structural changes.
Heat Management:
High temperatures near fireplaces require cables rated for at least 75°C. Follow manufacturer clearance specs. Inspect regularly for heat damage. Use heat shields if routing must go near hot areas.
| Method | DIY Cost | Pro Cost |
|---|---|---|
| Cord Covers | $20–50 | N/A |
| Pro Kits | $75–150 | $150–300 |
| In-Wall Installation | $200–600 | $300–600+ |
| Sleek Socket | $30–60 | N/A |
| Raceway Systems | $50–120 | $150–300 |
Keeping Everything Working
Regular Checks
- Monthly: Look for loose covers or sagging cables
- Every 3 months: Check that mounting hardware is tight
- Yearly: Complete inspection, including cable condition
- As needed: Touch up paint to maintain camouflage
Common Problems
- Covers falling: Upgrade to screws or better adhesive
- Paint doesn’t match: Get professional colour matching
- Too many cables: Upgrade to a larger system or add parallel runs
- Heat damage: Use temperature-rated cables, increase clearances
Future-proof your setup by designing cable management systems with extra capacity for new devices, room layouts, or renovations.
Code Requirements and Safety Rules
Electrical Codes Low-voltage cables like HDMI have few restrictions. Power modifications might need permits. GFCI protection could be required near fireplaces. New circuits need licensed electricians.
Fire Safety: Keep manufacturer clearances from heat sources. Use fire-rated materials for in-wall work where required. Don’t block fireplace ventilation.
Personal Opinion:
- When I worked on a brick fireplace, adhesive raceways worked far better than drilling—plus they avoided unnecessary wall damage.
- I always recommend adding at least two extra HDMI cables in-wall. It’s far easier to install them now than to redo the job when you add a new console or streaming device later.
FAQ: To Hide TV Wires Over Fireplace
Can we mount a TV above a fireplace?
Yes, when you follow clearance requirements.
Can TV wires melt above a fireplace?
If you use a wire above 60°C, then it will not burn.
Cheapest way to hide TV wires above the fireplace?
Paintable cord covers cost $20-50 and make a huge visual improvement. Plan your routing carefully, get exact paint colour matching, and allow 2-4 hours for installation.
How do I Hide TV Wires Over the Fireplace?
Surface-mounted solutions work best since drilling through brick needs special equipment. Use strong adhesive raceways, magnetic clips, or route around the masonry through adjacent walls.
Do I need an electrician to hide TV Wires Over the Fireplace?
Only for new outlets or circuit changes. Surface cable concealment is usually DIY-friendly. Check local codes since some areas require professional installation for electrical work.
About the Author:
Alif Littel is a home tech & appliance troubleshooting writer with over 10 years of hands-on experience fixing household gadgets and smart home installs. Read more about me.

