Updated: August 16, 2025
If you need to replace subfloor under a wall, this comprehensive guide will walk you through the process step by step, based on real-world experience. Over my 15 years working to install subflooring under walls has taught me that textbook methods often clash with real-world conditions.
Bathroom subfloor issues are common, often caused by toilet leaks, faulty shower pans, or burst supply lines. Damage often spreads 12–18 inches from fixtures, creating soft spots that homeowners frequently notice only after problems worsen.

Recognising When Replacing the Subfloor Can’t Wait
Most homeowners call when problems become apparent, but early detection saves thousands in repair costs. Here’s what happens before you notice issues:
Hidden Damage Progression:
Water infiltration starts small – maybe a hairline crack in caulking or a loose toilet ring. Moisture wicks into subflooring through capillary action, beginning decomposition at the cellular level. Within 48-72 hours, conditions favour mould growth. After two weeks, structural fibres start breaking down.
Field Inspection Techniques:
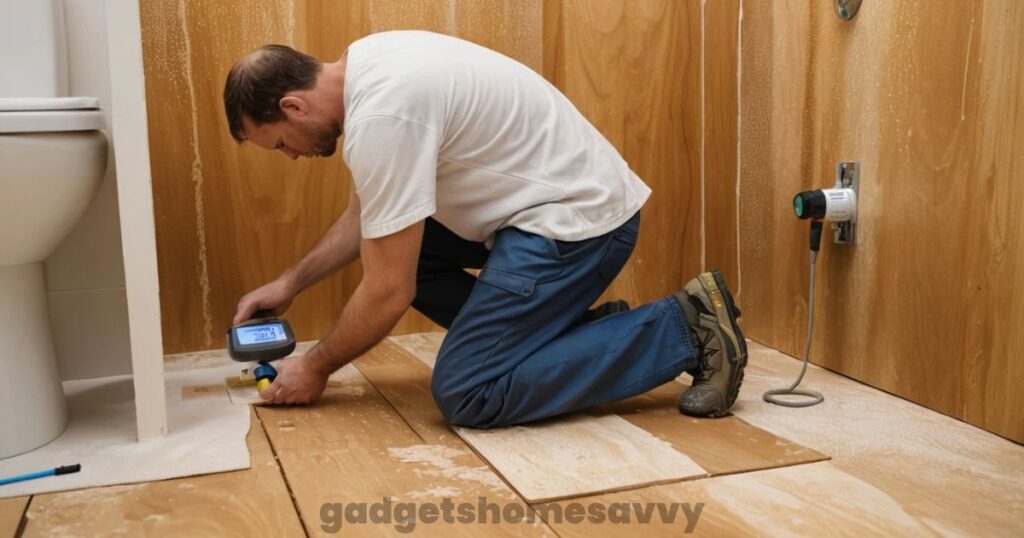
I test suspect areas using a moisture meter first, then an awl for penetration testing. Good subflooring resists the awl; compromised material allows easy penetration. The “bounce test” reveals structural integrity – solid subflooring barely deflects under normal weight.
Professional Assessment Criteria:
- Moisture readings above 16% indicate active problems
- Penetration depth exceeding 1/4 inch suggests replacement is needed
- Deflection over L/360 (span in inches divided by 360) exceeds code
- Visual fungal growth requires immediate attention
- Delamination between plies indicates material failure
Subfloor Repair Equipment Selection Based on Actual Use
Using contractor-grade tools is essential. For instance, standard rental saws often can’t make precise cuts right against a wall, which can lead to uneven panels.
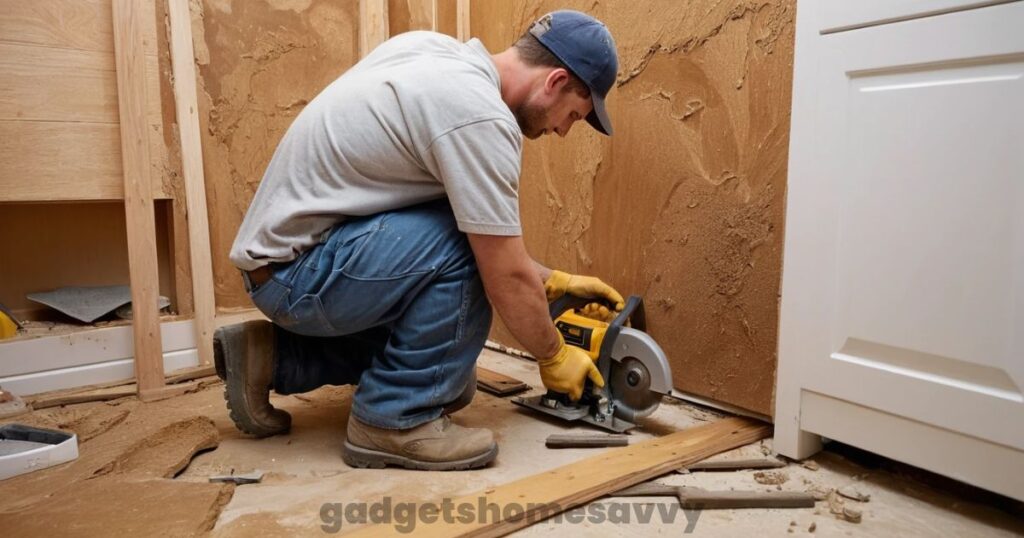
- Cutting Equipment Performance: Circular saws with 7-1/4″ blades provide adequate depth for standard subflooring but struggle with precision near walls. The base plate prevents cuts closer than 2 inches from vertical surfaces. Worm-drive models offer better torque but weigh significantly more during overhead work.
- Oscillating tools are perfect for detailed cuts near walls, but be aware they can overheat during long sessions—take breaks or rotate blades. Metal-cutting blades dull quickly when hitting embedded nails. Keep multiple blades available – you’ll need them.
- Specialised Extraction Tools: Standard pry bars bend under the leverage required for stubborn subflooring. During extended removal sessions, professional-grade bars with reinforced necks and comfortable grips reduce hand fatigue. The 30-inch length provides optimal leverage without excess weight.
Reciprocating saws work well for rough cutting but create ragged edges requiring cleanup. Reserve them for removal phases rather than precision fitting.
Cost of Replacing a Subfloor Under a Wall
Costs vary depending on DIY vs hiring a professional:
| Type of Repair | DIY Cost (per sq. ft.) | Pro Cost (per sq. ft.) |
| Small Patch Repair | $2–$5 | $7–$10 |
| Bathroom Subfloor Replacement | $3–$6 | $8–$12 |
| Full Room Replacement | $4–$7 | $9–$15 |
Strategic Approach to Wall-Adjacent Subfloor Repair
Traditional methods suggest removing entire sections, but experienced contractors know that selective replacement often proves more practical and economical.

Planning the Replacement Boundary
- Determining Cut Lines: Layout decisions impact current work and future maintenance access. I typically plan cuts to fall on joist centres when possible, providing solid backing for new material edges. However, damaged areas don’t always cooperate with ideal layouts.
- Structural Load Considerations: Interior walls carry different loads than exterior walls. Partition walls support mainly the weight plus any upper-level loads directly above. Load-bearing walls require temporary support during major subflooring work.
- Access Limitations: Bathroom layouts often restrict working space. Standard 5×8 bathrooms leave minimal room for power tool manoeuvring. Plan cut sequences to work from areas with better access toward confined spaces.
Advanced Removal Techniques
- Fastener Assessment: Modern construction uses various fastening systems. Ring-shank nails hold tenaciously compared to smooth-shank varieties. Screws require different removal approaches than nails. Adhesive systems complicate removal significantly.
- Cutting Strategy: Start peripheral cuts using a circular saw initially aw, staying 1-2 inches from the wall. Complete wall-adjacent cuts with oscillating tools or hand saws. This sequence prevents blade binding in confined spaces.
- Managing Wall Connections: The bottom plate connection represents the trickiest aspect. Wall plates typically fasten through subflooring into joists with 3-1/2″ nails or screws. These fasteners must be severed or extracted completely for subflooring removal.
- Plate Separation Method: Insert the oscillating tool blade at approximately a 30-degree angle underneath the plate edges. Cut systematically along the plate length, maintaining consistent depth to avoid joist damage. Work in 6-8 inch sections rather than attempting continuous cuts.
Personal opinion :
From years of installing subfloors, I’ve found that bathrooms are the trickiest areas due to tight layouts and hidden plumbing. I usually test suspect subfloor areas with a moisture meter and an awl; nothing reveals hidden damage like hands-on inspection.
Small patches often save homeowners hundreds of dollars compared to full replacement, as long as the structural support is solid.
Fix Subfloor Foundation Assessment
Subflooring removal exposes the structural system for comprehensive evaluation. Many contractors rush this assessment, missing problems that surface later.
Joist System Analysis
- Load Path Verification: Trace loads from wall plates through joists to bearing walls or beams. Look for interrupted load paths caused by notching, boring, or damage. Joists should bear fully on supporting members with minimal gaps.
- Material Condition Evaluation: Solid lumber joists show different damage patterns than engineered lumber. Dimensional lumber typically develops checking and splitting, but retains strength. Engineered joists fail more suddenly when moisture penetrates the web.
- Deflection Testing: Apply concentrated loads to span centres while measuring deflection. Excessive movement indicates inadequate sizing for current loads or material degradation affecting stiffness.

Moisture Source Investigation
- Primary Source Identification: Address moisture sources before installing new materials. Common bathroom sources of leakage and inadequate ventilation include shower/tub penetrations, toilet connections, supply line leakage issues, and ventilation deficiencies.
- Secondary Damage Assessment: Conduct an in-depth inspection to look for moisture migration in nearby joists, rim board, and wall framing to detect moisture migration that extends past initially visible areas; longstanding leaks often wreak havoc beyond initial visible locations.
- Drying Requirements: Moisture levels must fall below 16% before installing new furniture; depending on circumstances, this could take several days or weeks with adequate ventilation and dehumidification systems in place.
New Subfloor Installation Methodology
Material selection impacts installation methods and long-term performance. Each option offers distinct advantages and limitations.
Engineered vs. Traditional Materials
- OSB Subflooring Performance: Oriented Strand Board provides excellent structural properties and consistent dimensions. Tongue-and-groove edges create stronger joints than square-edge plywood. However, OSB swells permanently if moisture penetration occurs.
- Plywood Characteristics:
Plywood is generally more moisture-resistant and stable than standard OSB, thanks to its cross-grain construction, which helps prevent splitting during installation. Premium grades cost more but provide superior surfaces for finish flooring. - Alternative Materials: Advantech and similar premium OSB materials offer greater strength with improved moisture resistance for increased performance in damp-prone environments, at 30-40% more cost than their standard options. They may cost slightly more, yet offer superior moisture-wicking abilities than standard options.
Professional Installation Standards
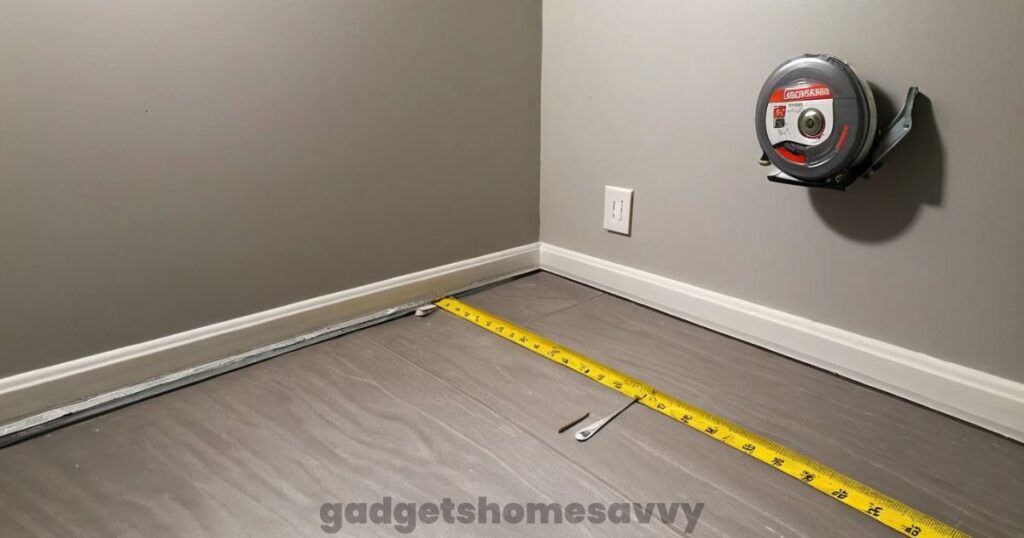
- Layout and Measurement: Measure replacement sections with 1/8″ deductions from actual openings. This provides proper expansion gaps while ensuring adequate support. Create cardboard templates for complex shapes around pipes or irregular openings.
- Adhesive Application: Apply construction adhesive in serpentine patterns covering 60-70% of joist contact area. Too much adhesive creates a mess without improving performance. Too little reduces bond strength and allows movement.
- Fastening Patterns: Space fasteners 6″ on centre along supported edges and 8″ in field areas. Pre-drill near edges to prevent splitting. Drive fasteners until heads sit slightly below surface level without over-driving.
- Joint Details: Maintain consistent gaps between panels using spacers during installation. Check joint alignment frequently to prevent accumulated errors. Sand high spots immediately rather than waiting until installation completion.
How to Patch Subfloor for Limited Damage
Partial replacement often makes more sense than complete section removal, particularly for damage confined to small areas.
Patch Sizing Strategies
- Minimum Patch Dimensions: Patches smaller than 12″ square lack adequate fastening area and may work loose over time. Plan patches to span at least two joist splices, providing multiple fastening points.
- Edge Support Requirements: All patch edges require solid backing. Add blocking between joists where patches fall in unsupported areas. Use 2×4 or 2×6 blocking material, depending on joist depth.
- Integration with Existing Material: Match existing subflooring thickness exactly. Height differences create problems for finish flooring installation. Feather edges using sanders or planes to create smooth transitions.

Cutting and Fitting Procedures
- Template Creation: Heavy cardboard or thin plywood makes excellent templates for complex shapes. Test-fit templates thoroughly before transferring to subflooring material.
- Precision Cutting: Fine-tooth blades produce cleaner cuts with less splintering. Support both sides of the cut lines to prevent breaking. Cut slightly oversize initially, then trim to exact fit.
- Trial Installation: Test-fit patches before applying adhesive. Make adjustments gradually using sanders or block planes. Proper fit requires moderate pressure for installation without forcing.
Regional Building Considerations
Local conditions significantly impact material selection and installation methods.
Climate-Specific Requirements
- High Humidity Regions: Coastal and southern climates require enhanced ventilation and moisture barriers. Consider pressure-treated subflooring in particularly problematic areas. Extend drying periods before new installation.
- Dry Climate Adaptations: Western regions experience extreme seasonal humidity variations. Allow extended acclimation periods for materials. Increase expansion gap dimensions to accommodate movement.
- Factors Affecting Installation in Cold Climates: Northern installations should consider freeze-thaw cycles that impact fastener holding power. Use stainless steel fasteners in exposed areas. Plan seasonal access restrictions during the winter months.
- Local Code Variations Permit Requirements: Many jurisdictions require permits before undertaking substantial subflooring work; always consult local requirements first if starting work on this subflooring installation or inspection work. Some locations mandate professional installation or inspection by qualified personnel.
- Material Specifications: Building codes specify minimum subflooring thickness depending on joist spacing and intended loads; confirming these requirements before purchasing materials for your application and location is wise.
- Inspection Protocols: Subflooring work often necessitates both preliminary and final inspections; to avoid delays to your project schedule, these inspections accordingly.
Installation Verification
- Fastener Inspection: Before driving fasteners into place, carefully review their spacing, depth, and angle; incorrectly driven fasteners often produce noise or fail prematurely due to misassembly, leading to noisy failure and noise squeak. Any damaged or inadequate fasteners must be immediately replaced to keep systems operational.
- Surface Evaluation: Utilising straight edges, check surface flatness within tolerance levels using consecutive edges. Most finish flooring requires surfaces within 3/16″ over 10 feet. Sand or plane high spots as needed.
- Joint Assessment: Verify consistent gap spacing between panels. Check tongue-and-groove engagement for proper fit. Inadequate engagement allows movement and noise.
- Structural Testing: Load-test completed areas before proceeding with finish flooring. Address any deflection or movement issues immediately rather than covering them up.
Long-Term Performance Monitoring
- Maintenance Access: Plan for future access needs during installation. Mark joist locations for future fastening. Document any special conditions or repairs for future reference.
- Performance Benchmarks: Establish baseline measurements for future comparison.
- Replacing the subfloor under walls demands careful planning to balance structural integrity with the challenges of working in tight spaces.
FAQ
How can I determine whether my subfloor is damaged?
To check for damage in a subfloor, look out for soft spots, sagging floors, or water stains; moisture levels over 16% should indicate possible problems; tool penetration indicates replacement may also be required.
Can I Handle This Myself?
Minor repairs may be possible without hiring professional help; for larger areas and walls supporting load-bearing capacity, it would be prudent to consult an expert first.
What tools will I need?
Your primary tools of the trade should include a circular saw, oscillating tool, pry bar, pry bar pliers, drill, screws, levellers, and moisture meters.
What materials make the best subflooring material choices?
Plywood offers strength and moisture-proof properties, while OSB costs less, yet will expand when exposed to wetness; more costly boards, such as Advantech, perform exceptionally in damp areas.
Should I repair leaks before replacing my subfloor?
Absolutely, all water sources must first be addressed so as to prevent repeated damage and potential mould growth.
Can it be safe to replace just part of my flooring?
Absolutely – just ensure its edges have solid support, and its thickness matches up with what exists below the existing subfloor.

